Particlesjs is a effective, light-weight javascript library that permits you to develop animated particle backgrounds for your internet site. In this tutorial, we’ll present you how to use the particlesjs library on an Oxygen Builder internet site.
If you happen to be not acquainted with javascript, do not be concerned – utilizing particlesjs is effortless and does not call for as well significantly coding understanding. It also has fantastic documentation to support you get commenced.
Putting in Particlesjs with a plugin
If you happen to be not as well concerned about bloat, the best way to get particlesjs set up on your WordPress web site is to use a plugin. We advise utilizing the Particles.js for WordPress plugin.
When you have put in and activated the plugin, head to Settings > ParticlesJS Banner to configure your settings. The plugin does all the set up function in the background but permits you to completely customize the appear and truly feel of your particles.
Nonetheless, if you want far more manage in excess of your internet site and do not want to include further bloat utilizing a plugin, you can set up particlesjs manually.
Putting in Particlesjs with out a plugin
Making use of Particlesjs in Oxygen is extremely easy thanks to the code block component:
one) The supply file
We’re going to be utilizing the plugin via it is CDN, so we do not truly have to download something. The very first issue you require to do is include a new code block component to your web page or publish and edit the HTML.
two) Code Block Setup
Within the code block, we’re going to include two scripts. The very first a single is going to initialize the particlesjs library and the 2nd a single is going to configure the settings.
You can copy and paste the following code into your code block to initialize:
<script src="https://cdn.jsdelivr.net/particles.js/two../particles.min.js"></script>
To configure your customized settings, include an additional script in the identical code block
<script sort="text/javascript">
particlesJS('stars',
  {
  "particles": {
    "quantity": {
      "worth": 160,
      "density": {
        "allow": accurate,
        "worth_region": 800
      }
    },
    "shade": {
      "worth": "#ffffff"
    },
    "form": {
      "sort": "circle",
      "stroke": {
        "width": ,
        "shade": "#000000"
      },
      "polygon": {
        "nb_sides": five
      },
      "picture": {
        "src": "img/github.svg",
        "width": one hundred,
        "height": one hundred
      }
    },
    "opacity": {
      "worth": one,
      "random": accurate,
      "anim": {
        "allow": accurate,
        "velocity": one,
        "opacity_min": ,
        "sync": false
      }
    },
    "dimension": {
      "worth": three,
      "random": accurate,
      "anim": {
        "allow": false,
        "velocity": four,
        "dimension_min": .three,
        "sync": false
      }
    },
    "line_linked": {
      "allow": false,
      "distance": 150,
      "shade": "#ffffff",
      "opacity": .four,
      "width": one
    },
    "move": {
      "allow": accurate,
      "velocity": one,
      "route": "none",
      "random": accurate,
      "straight": false,
      "out_mode": "out",
      "bounce": false,
      "appeal to": {
        "allow": false,
        "rotateX": 600,
        "rotateY": 600
      }
    }
  },
  "interactivity": {
    "detect_on": "canvas",
    "occasions": {
      "onhover": {
        "allow": accurate,
        "mode": "bubble"
      },
      "onclick": {
        "allow": accurate,
        "mode": "repulse"
      },
      "resize": accurate
    },
    "modes": {
      "grab": {
        "distance": 400,
        "line_linked": {
          "opacity": one
        }
      },
      "bubble": {
        "distance": 250,
        "dimension": ,
        "duration": two,
        "opacity": ,
        "velocity": three
      },
      "repulse": {
        "distance": 400,
        "duration": .four
      },
      "push": {
        "particles_nb": four
      },
      "eliminate": {
        "particles_nb": two
      }
    }
  },
  "retina_detect": accurate
}
)
</script>
three) Setting the Div Component
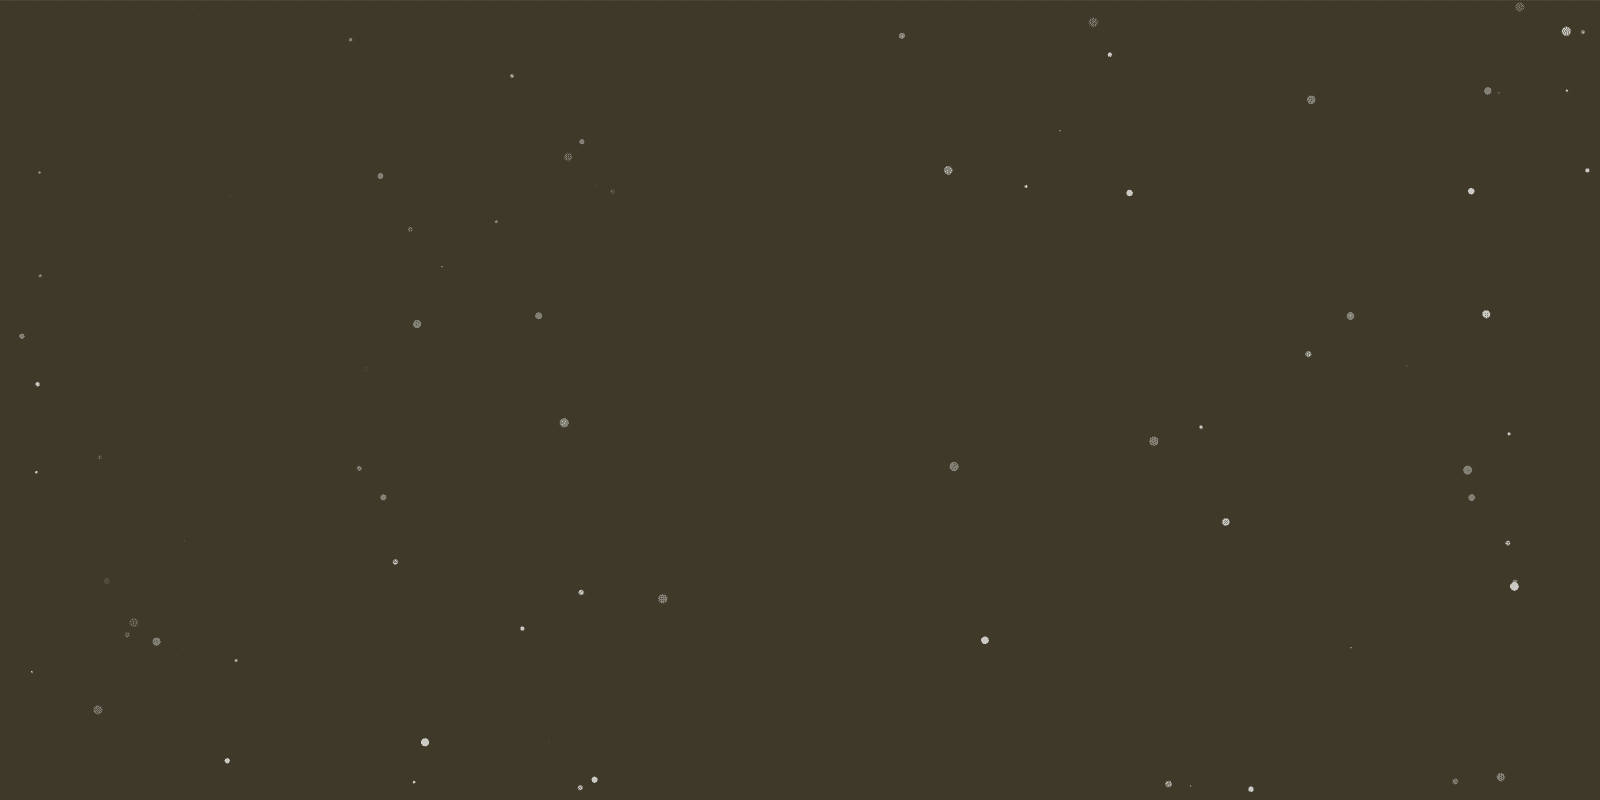
Within the 2nd script, we utilised stars as the very first argument. Stars in this situation refers to the ID of the div component on your web page that will have the background. You can title this something you want, just make positive the script matches your div. On my web page, I extra a area with a div set to one hundred% within. The particles will have padding all about thanks to the area, but will stretch across the total display.


four) Customize Your Settings to Generate Distinctive Backgrounds
When you have extra the code and configured your settings, it is time to commence customizing your particles. The complete checklist of settings and possibilities can be located on the particlesjs Github page, but you can visually design them very easily utilizing the Codepen editor.
Conclusion
Particlesjs is a fantastic way to include an animated background to your internet site. It is effortless to set up, configure and customize, so you can develop a distinctive appear for your web site. Despite the fact that effortless to set up with a plugin, if utilizing Oxygen, putting in manually offers you far more manage and does not bloat your web site. Thanks for reading through and if you have any concerns, truly feel totally free to depart a comment beneath!