
Ever wonder why some emails from your WordPress web site never make it to the inbox, or worse, finish up in the spam folder?
Excellent information! There is a answer: setting up WP Mail SMTP. When completed appropriate, this plugin can significantly boost e-mail deliverability.
But how do we set it up on Breakdance?
This brief guidebook will stroll you via the method. Maintain reading through!

- How to Set Up WP Mail SMTP in WordPress and Breakdance
- one) Set up WP Mail SMTP Plugin
- two) Configure the Plugin Settings
- three) Produce the Consumer ID and Consumer Secret From Your Google Cloud Account
- four) Finish the WP Electronic mail SMTP Setup
- five) Send Check Electronic mail From WordPress
- six) Send Breakdance Varieties Utilizing WP Electronic mail SMTP
- What’s Up coming?
How to Set Up WP Mail SMTP in WordPress and Breakdance
one) Set up WP Mail SMTP Plugin
Acquired to Plugins > Include New. Search and set up WP Electronic mail SMTP. Then, click to activate.

two) Configure the Plugin Settings
a) Open the WP Mail SMTP basic settings. Enter the e-mail tackle that emails are sent from. Click ‘Force From Email’ if you want all emails to use this very same e-mail tackle.

b) Enter ‘From Name’ – all emails sent from your site will be connected with the identify entered right here. Click ‘Force From Name’ if you want to use the identify for all your emails.
c) Scroll down to the ‘Mailer’ area. Right here, you can pick which mailer services you want to use to send your emails. In this tutorial, we’re going to use Google/Gmail.

d) When Gmail is chosen, you will be prompted to enter the Consumer ID and Consumer Secret codes. Depart the settings for now until finally you have configured your Gmail API crucial in the following measures. Make certain to hold this tab open.

three) Produce the Consumer ID and Consumer Secret From Your Google Cloud Account
a) Open a new window. Log in to your Google Cloud account.

b) Click the tasks drop-down menu at the leading of the web page.
c) On the pop-up window, pick an present task or develop a new 1.

In this tutorial, let’s develop a new task. Enter a task identify and pick an organization from the accessible drop-downs. Then, click ‘Create.’

d) Let’s now allow the Google API companies for your task. On your dashboard, go to APIs & Solutions > Library.

e) Search for ‘Gmail API’ on the search bar. Click the Gmail API and then tap the allow button. You will then be redirected to the Gmail API overview web page.

f) At the leading appropriate side of the web page, click ‘Create credentials.’ Right here, you will want to reply a number of queries to create your API codes.

g) Underneath the ‘Credential Variety.’ pick the Gmail API from the drop-down menu. Tap the ‘User data’ alternative, as proven under. Click ‘Next.’

h) Underneath the ‘OAuth Consent Display,’ enter the standard data about your app, like the app identify, assistance e-mail, app emblem, and developer get in touch with data. Click ‘save and carry on.’

i) Up coming is the ‘Scopes’ area. This is optional, so let’s skip this area and proceed to the following stage.

j) The following stage is to enter the OAuth Consumer ID. On the drop-down menu, pick ‘Web application.’ Enter a identify on the ‘Name’ area, or depart the default identify as it is. This identify is only employed to determine the consumer in the console and will not be proven to your site site visitors.
k) Scroll down even more and click the ‘Add URI’ button underneath the ‘Authorized redirect URIs’ area. Right here, you will want to paste data from your WordPress SMTP settings.
So, go back to your WordPress admin web site. On the WP Electronic mail SMTP settings web page, copy the URL from the ‘Authorized redirect URI’ area.

Back to your Google Cloud Console, paste the URL on the ‘Authorized redirect URIs’ area. Click ‘Create’ then ‘Done.’

l) On the sidebar, go to ‘Oauth consent display.’ Make certain that the consumer kind is set to external.

Then, click ‘Publish App.’ The publishing standing must now be modified to ‘In manufacturing.’


m) On the left side menu, click ‘Credentials.’
Underneath the ‘Oauth two. Consumer IDs’ table, you must see the consumer identify of your app. Click the ‘pencil’ icon on the appropriate. This will open a new web page.

On the appropriate side of the web page, you must see the Consumer ID and Consumer Secret codes. You will want to copy this data and paste it to the corresponding fields on your WordPress Settings.

four) Finish the WP Electronic mail SMTP Setup
a) Back to your WordPress SMTP settings, paste the Consumer ID and Consumer Secret codes. Then, Click conserve.

b) As soon as the web page is refreshed, you must see a new button ‘Allow plugin to send emails making use of your Gmail account.’ Click this to enable WordPress to send emails on your behalf.

c) You must then be redirected to the Gmail login web page. Nevertheless, you may experience an error saying that Google hasn’t verified the app.
But in this tutorial, you really don’t want the verification method considering that the app will only be employed by you.

To proceed, tap the ‘Advanced’ website link in the bottom left corner. Click the ‘go to wpmailsmtp.com (unsafe)’ website link. This will open a new web page prompting you to authorize WP Mail SMTP plugin to entry your Gmail. Click ‘Continue.’
d) You will be redirected back to your WordPress settings web page. You must see a message saying that you have effectively linked your Gmail to the plugin.

five) Send Check Electronic mail From WordPress
a) Let’s send out a check e-mail to make certain that every thing is doing work correctly. On the ‘Email Test’ tab, enter a legitimate e-mail tackle in the ‘Send to’ area. This is exactly where you are going to acquire the check e-mail.

b) Maintain the HTML tab ‘ON.’ Then, click ‘Send Electronic mail.’
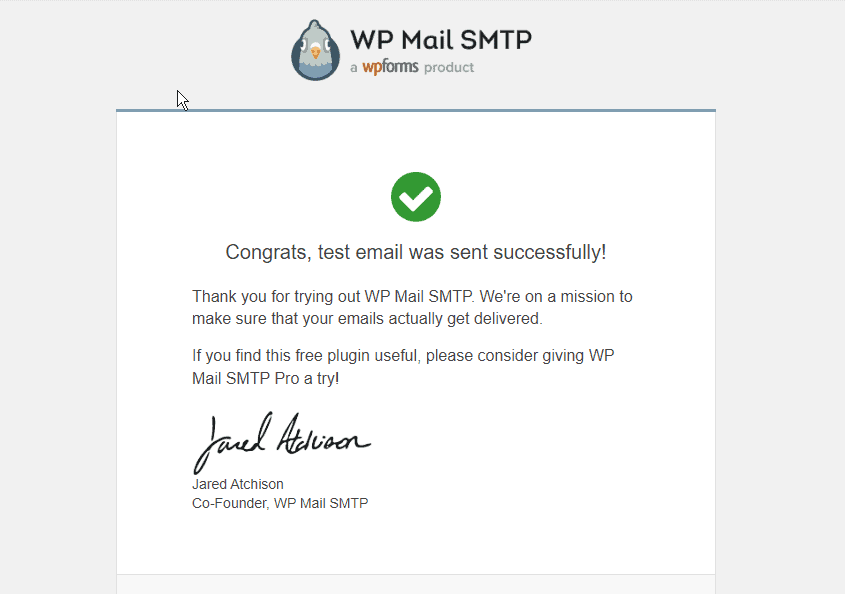
c) As soon as the check e-mail is sent, you will see a achievement message like the 1 under.

d) Check out your inbox. You must acquire a message, as proven under.

six) Send Breakdance Varieties Utilizing WP Electronic mail SMTP
Now, let’s attempt to send a get in touch with submission kind making use of Breakdance.
On your WordPress dashboard, open any web page you want to include a submission kind. Then, edit the web page in Breakdance.
Include a area and a kind builder component.

Click the kind builder component to modify the actions settings on the left side menu. Underneath the ‘Actions’ drop-down, pick ‘Email.’
The ‘Email’ settings must seem just under the drop-down menu. You can click it if you want to configure the other settings like the e-mail topic, message, and e-mail tackle to acquire a copy of the kind sent.
Check the Breakdance kind on the front-finish by coming into a identify and e-mail tackle. Click ‘Submit.’

Check out the inbox of the recipient. You must see a message containing the e-mail tackle you have set on the SMTP and the particulars entered on the kind.

What’s Up coming?
With the SMTP plugin set up, you have taken a substantial stage in making certain your WordPress emails attain their meant recipients. You can also use this characteristic to send emails, get in touch with types, WooCommerce purchase types, and a lot of other folks.
But it does not finish there – Breakdance provides other characteristics to degree up your e-mail advertising game.
For instance, why not integrate Breakdance types with third-celebration platforms? For advice, verify out our tutorial on how to send Breakdance forms to Convertkit.
Hopefully, you have identified this guidebook useful! Allow us know if you have any queries, and we’ll attempt our greatest to aid.

